Multi Ribbon Tool
The FMM Multi Ribbon Tool is a versatile tool that will create ribbons from 3 to 50mm wide with a choice of plain or wavy line edging also included is a stitch wheel.
It can also be used for marking out when creating a striped effect cake to ensure that the strips of sugarpaste are evenly spaced.
Hints & Tips: – You can make your own modeling paste by adding a small amount of Tylo to fondant.
FMM Equipment you will need
- FMM Multi-Ribbon Tool
- FMM Knife & Scriber Tool
- FMM Impression Mat Set 1 & 2
- FMM Chunky Funky
- FMM Firm Foam Pad
NON-FMM Equipment you will need
- Non Stick Mat
- Non Stick Rolling Pin
- Water & Paintbrush
- Modelling Paste Various Colours
Make a Cobbled Path using the FMM Multi Ribbon Tool

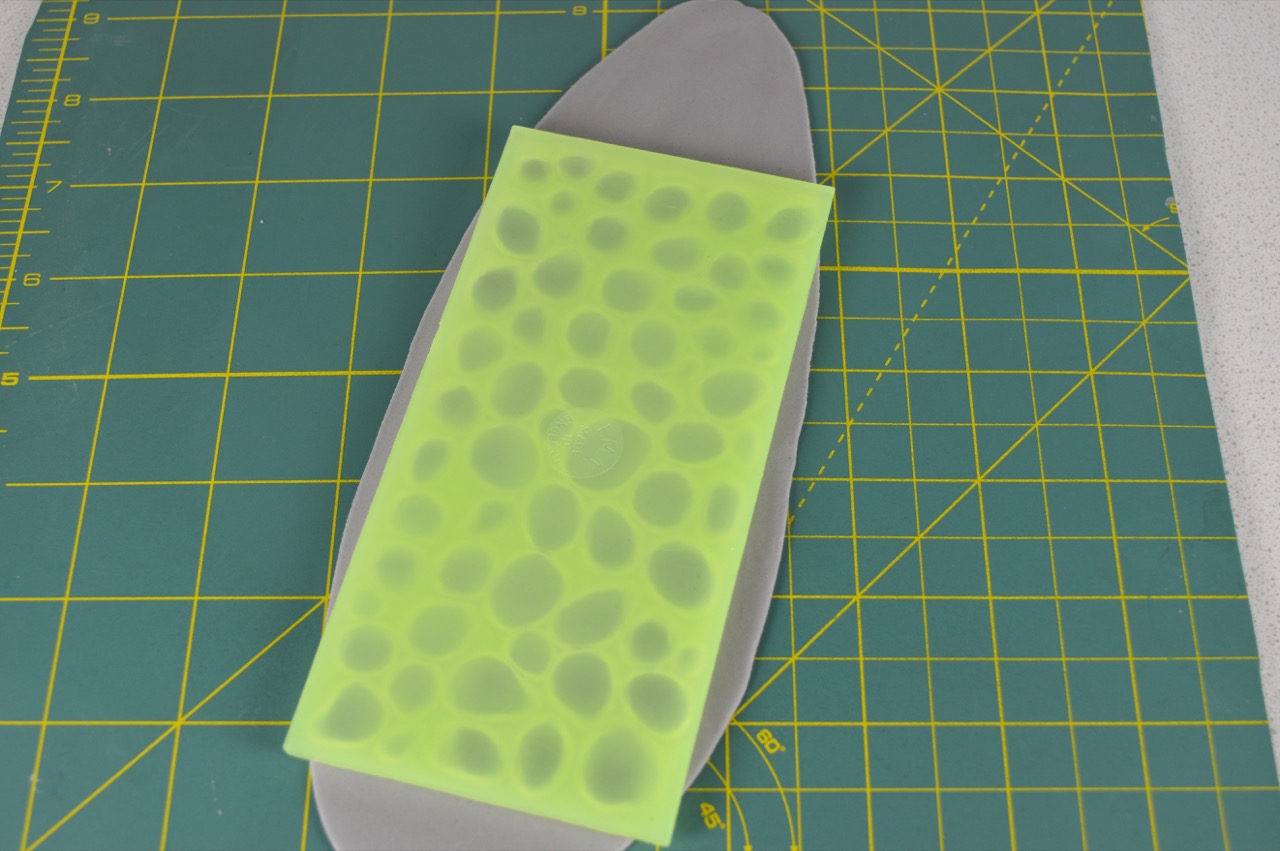
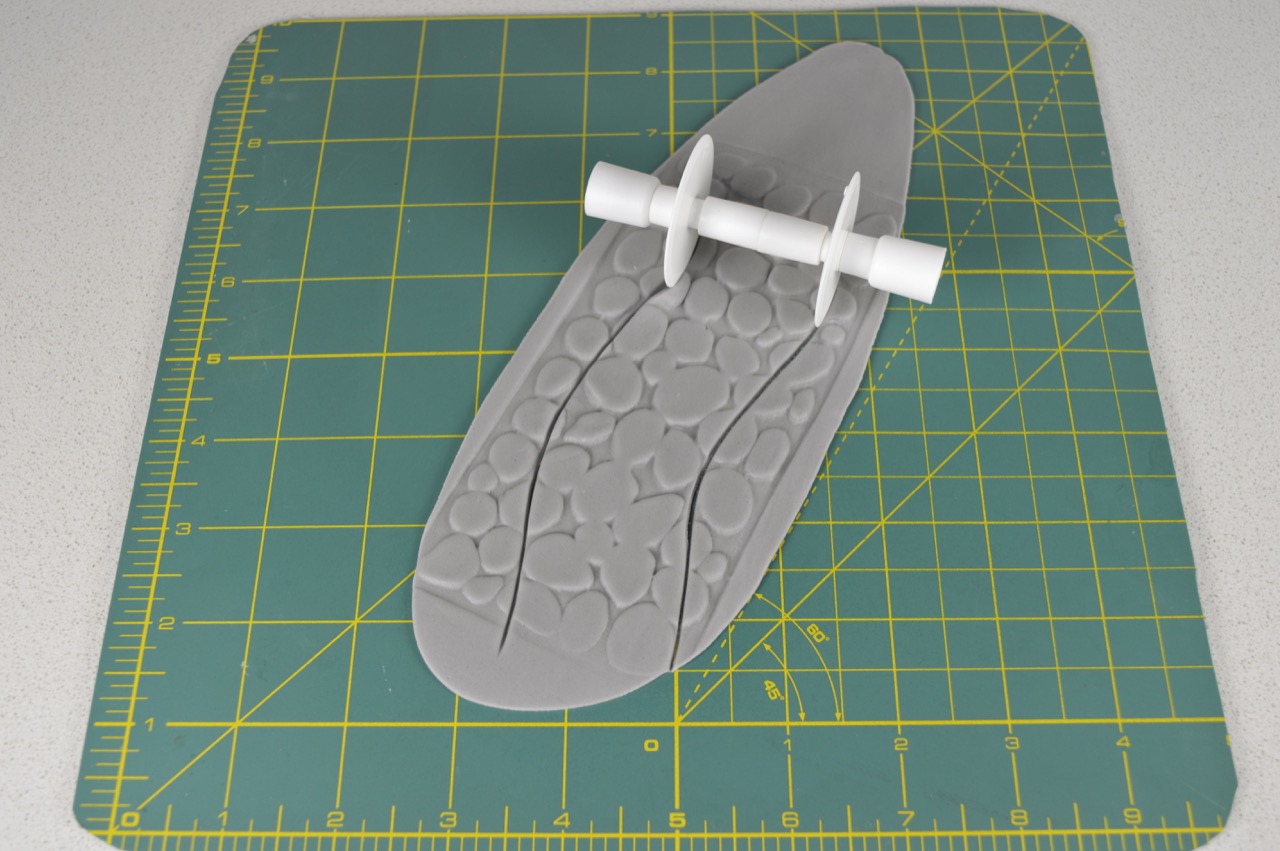
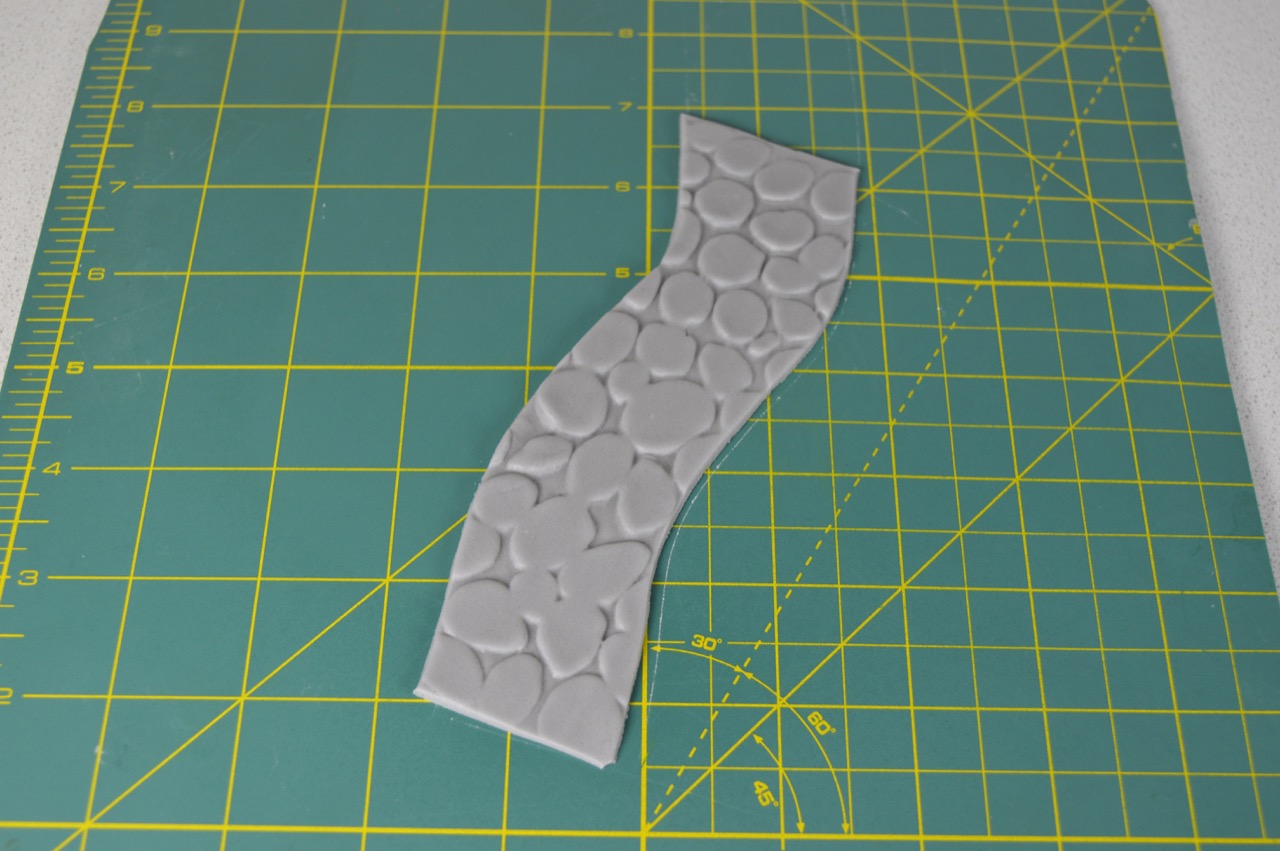
Roll out modeling paste 3 mm thick. Place your FMM cobbled stone impression mat on top and apply pressure with your hand. Cut out a wonky path with your FMM Multi-Ribbon tool.
Make a Stripes using the FMM Multi Ribbon Tool


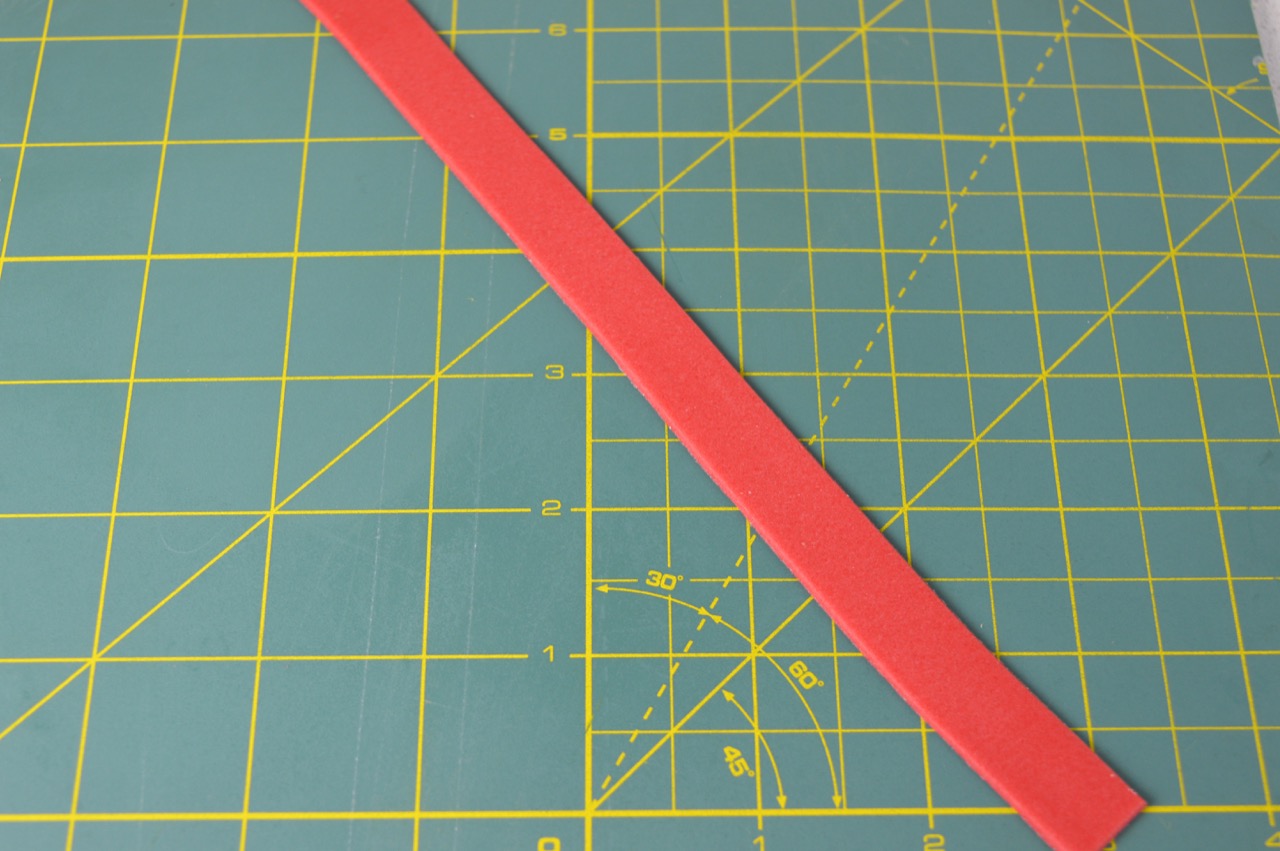
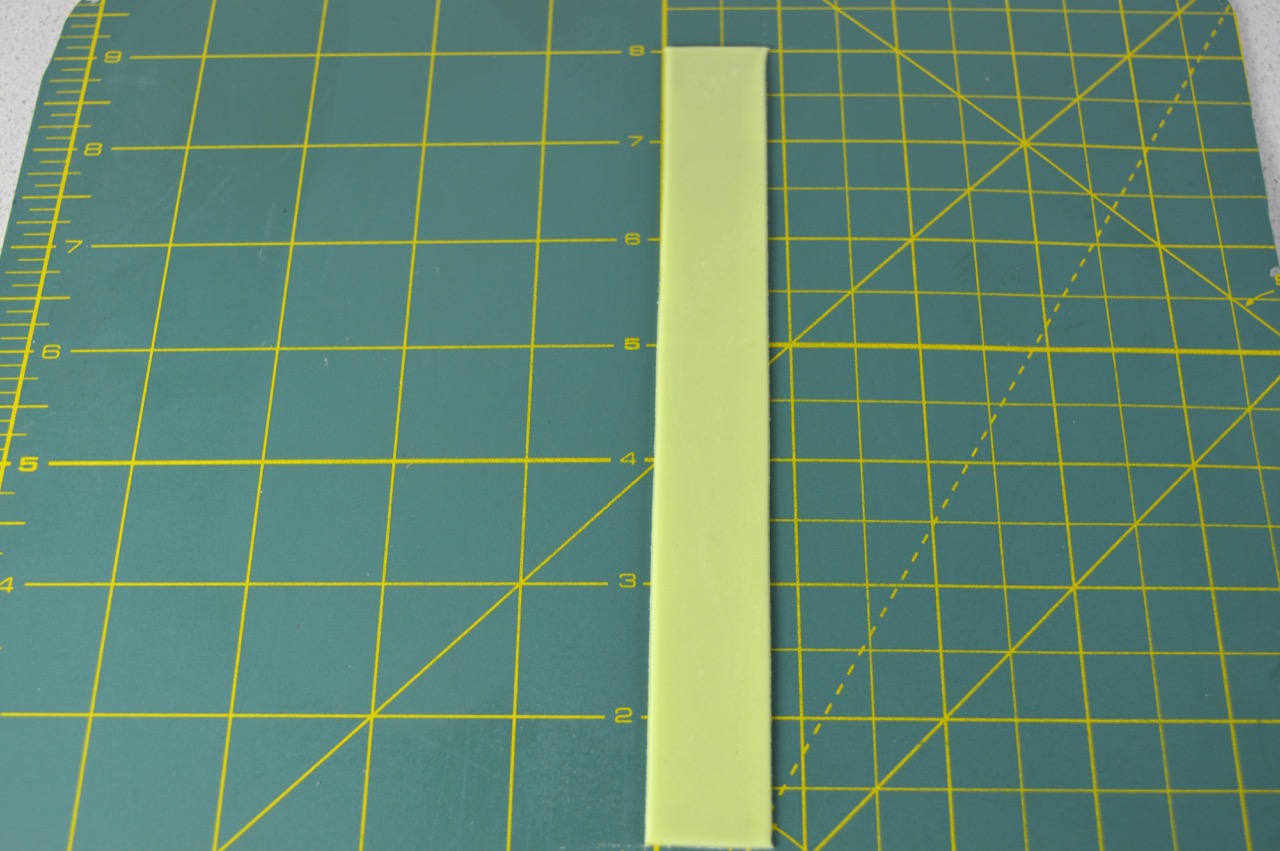
Roll out your modeling paste 2 mm thick. Adjust your FMM Multi-Ribbon tool to the desired with and cut out a stripe. You can have a straight edge, frilled edge and even a stitching line!
Make Tappit Strips using the FMM Multi Ribbon Tool
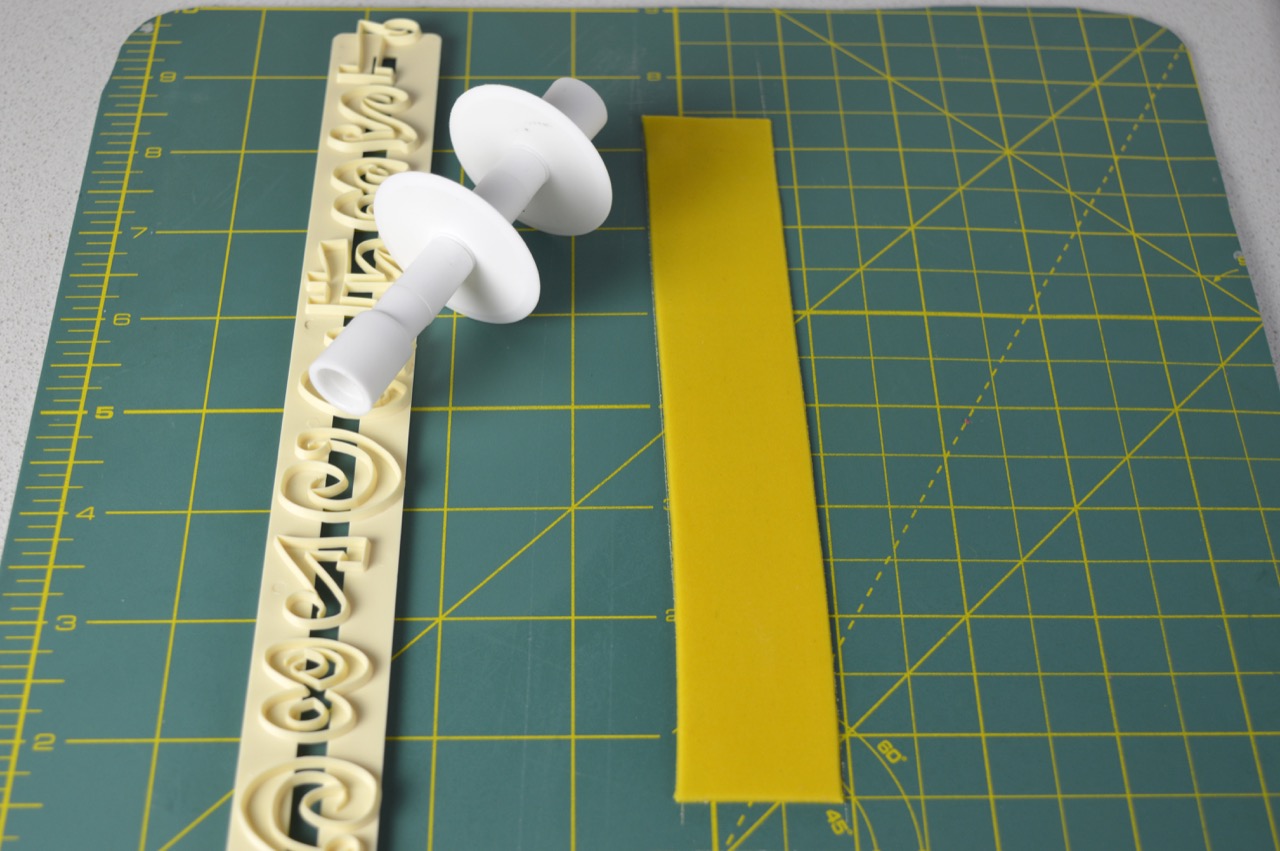
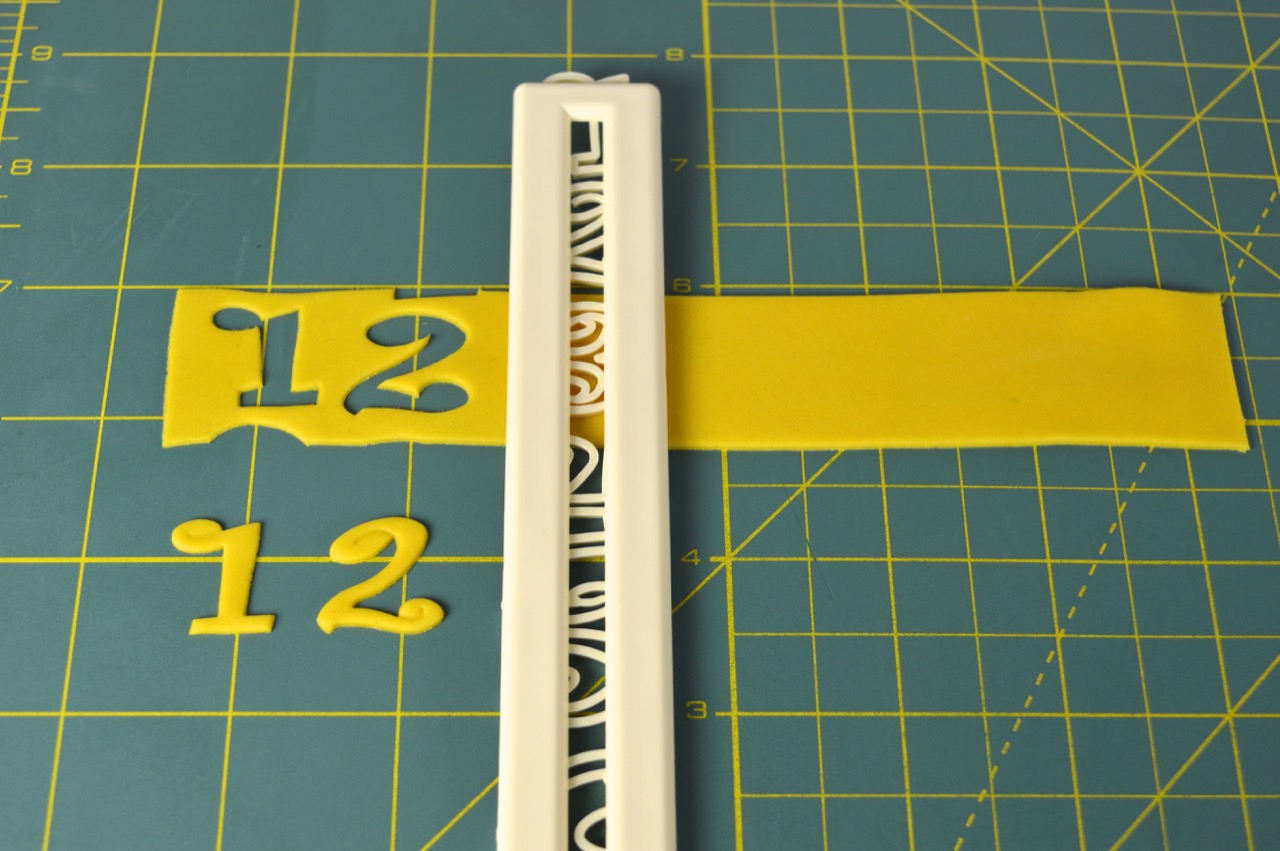
Roll out your modeling paste 2 mm thick. Cut out a strip of paste the width of your tappit. Lay your strip of paste horizontally on your mat and then place your tappit vertically over the top. Cut out your letters/shapes.
Make Ruffles using the FMM Multi Ribbon Tool

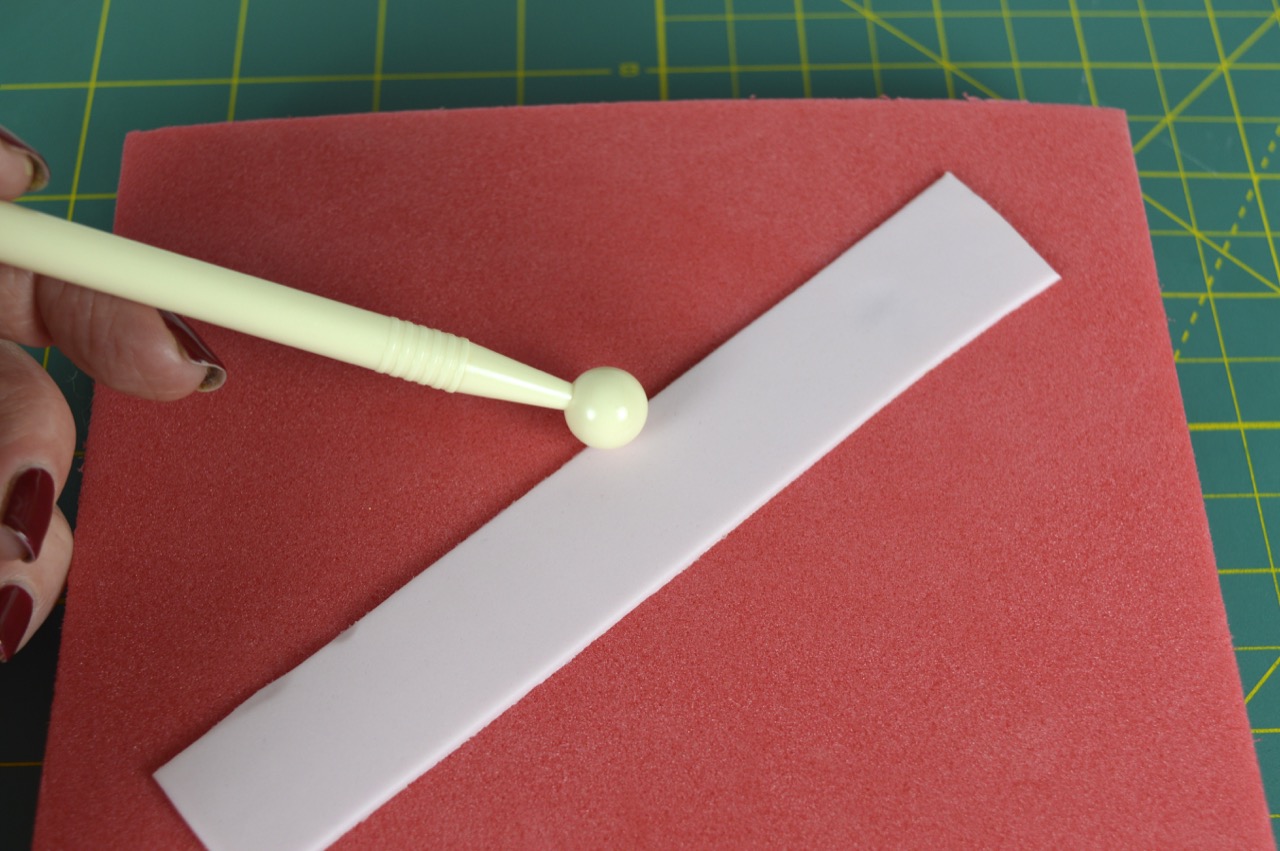

Roll out your modeling paste. Cut out a strip of paste with your FMM Multi-Ribbon tool. Using the large end of your FMM Ball tool soften the edge on your FMM Firm Foam Pad, half on the paste and half on the mat. Attach the ruffled strips of paste to your cake 1 at a time with water. Stagger the strips of paste as you move down the cake to prevent a seam.
Make a Banner using the FMM Multi Ribbon Tool


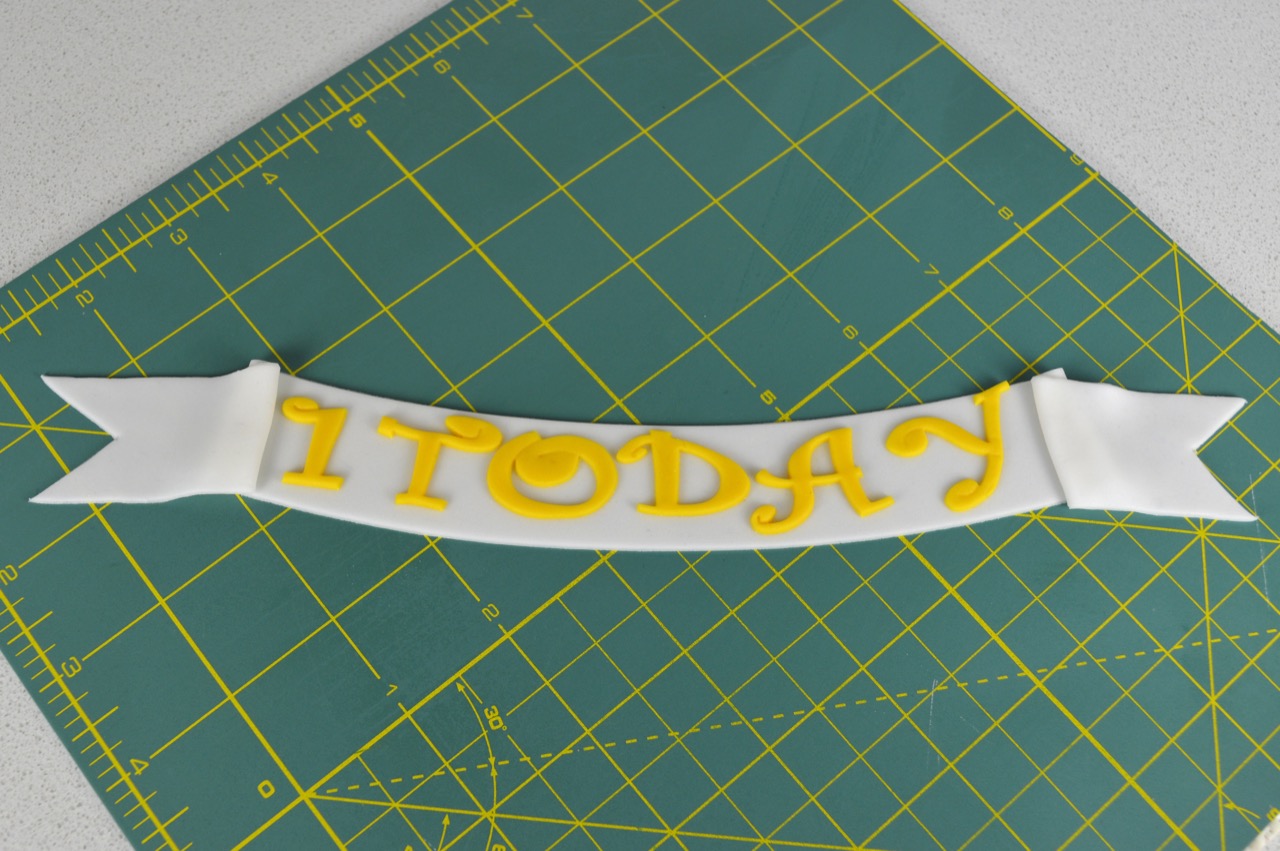
Roll out some modeling paste to 2-3 mm thick. Cut a triangle in each end using your FMM Knife & Scriber tool. Place your inscription in the centre of the banner. Fold back each side of the modeling paste to make your banner.
Quilling using the FMM Multi Ribbon Tool

Roll out your modeling paste 2 mm thick. Cut out a strip of paste using your FMM Multi-Ribbon tool. Gently fold your strip of paste in half to make a point for the bottom of the heart and open again. Coil each side of the strip of paste until you have a heart shape.
Make Train Tracks using the FMM Multi Ribbon Tool
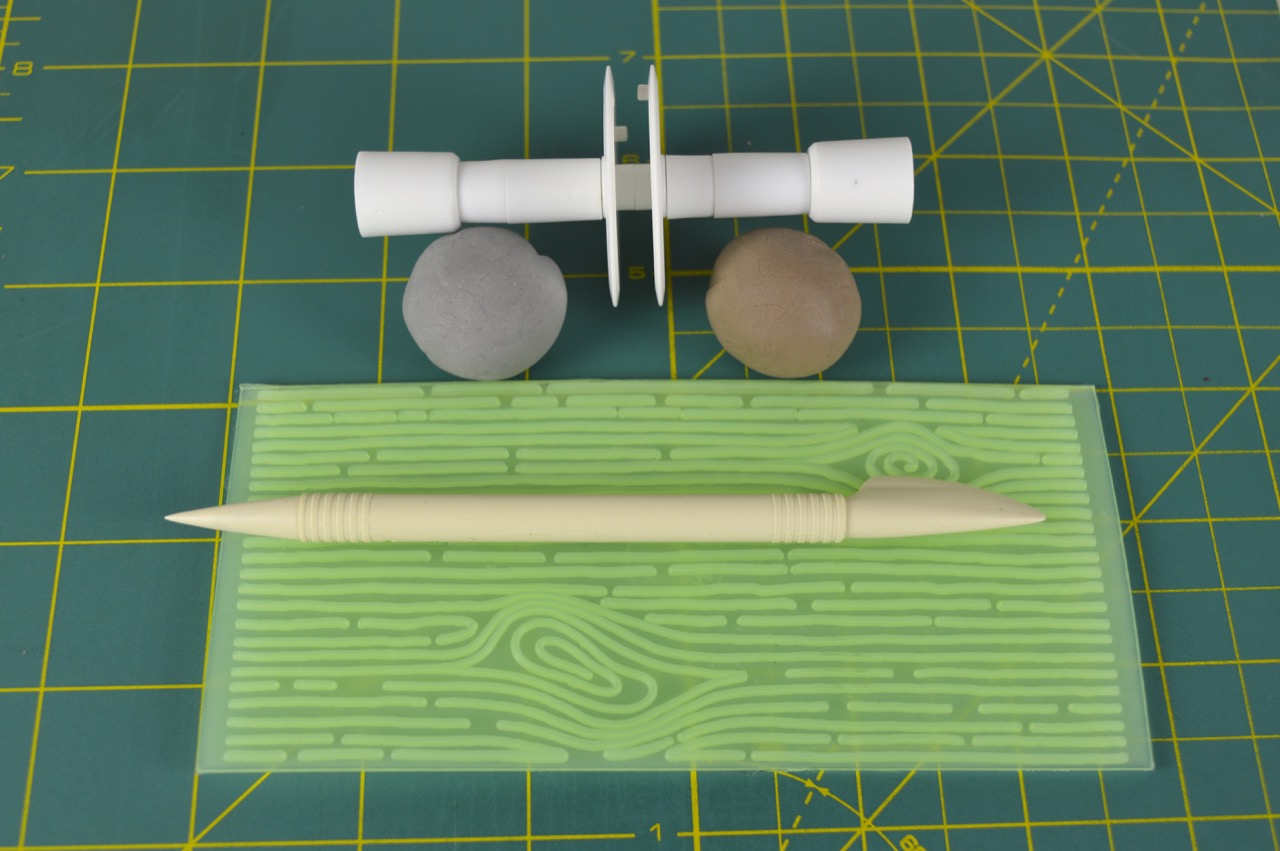


Roll out brown modeling paste 3 mm thick, place your FMM Wood Grain Embosser Mat on top and apply pressure with your hand to emboss it. Cut it in to strips of paste with your FMM Multi-Ribbon tool and cut them all to the same length with your FMM Knife and Scriber tool. Roll out grey modeling paste 2 mm thick. Cut out 2 thinner strips of grey modeling paste with your FMM Multi-Ribbon tool. Allow to dry off a little then assemble your train track.
Make a Bow using the FMM Multi Ribbon Tool

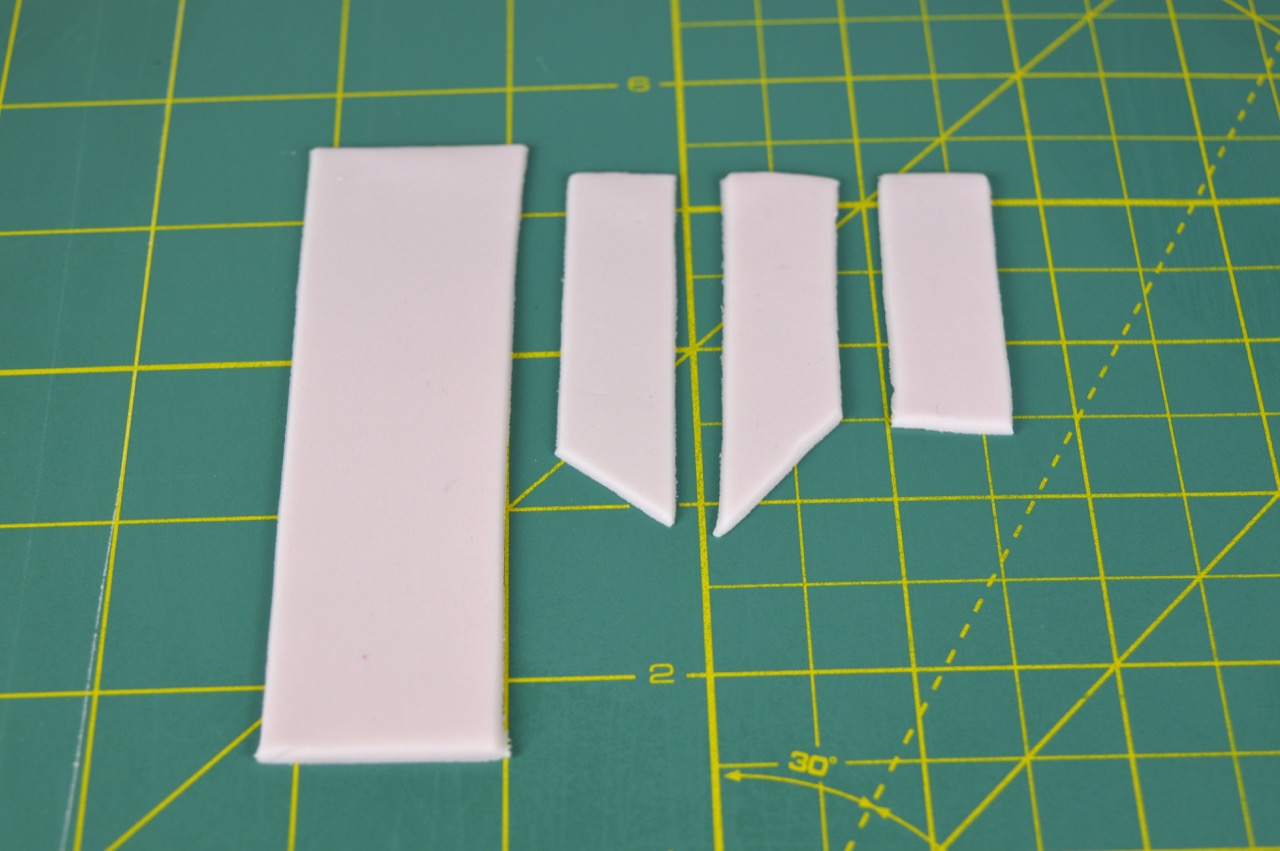

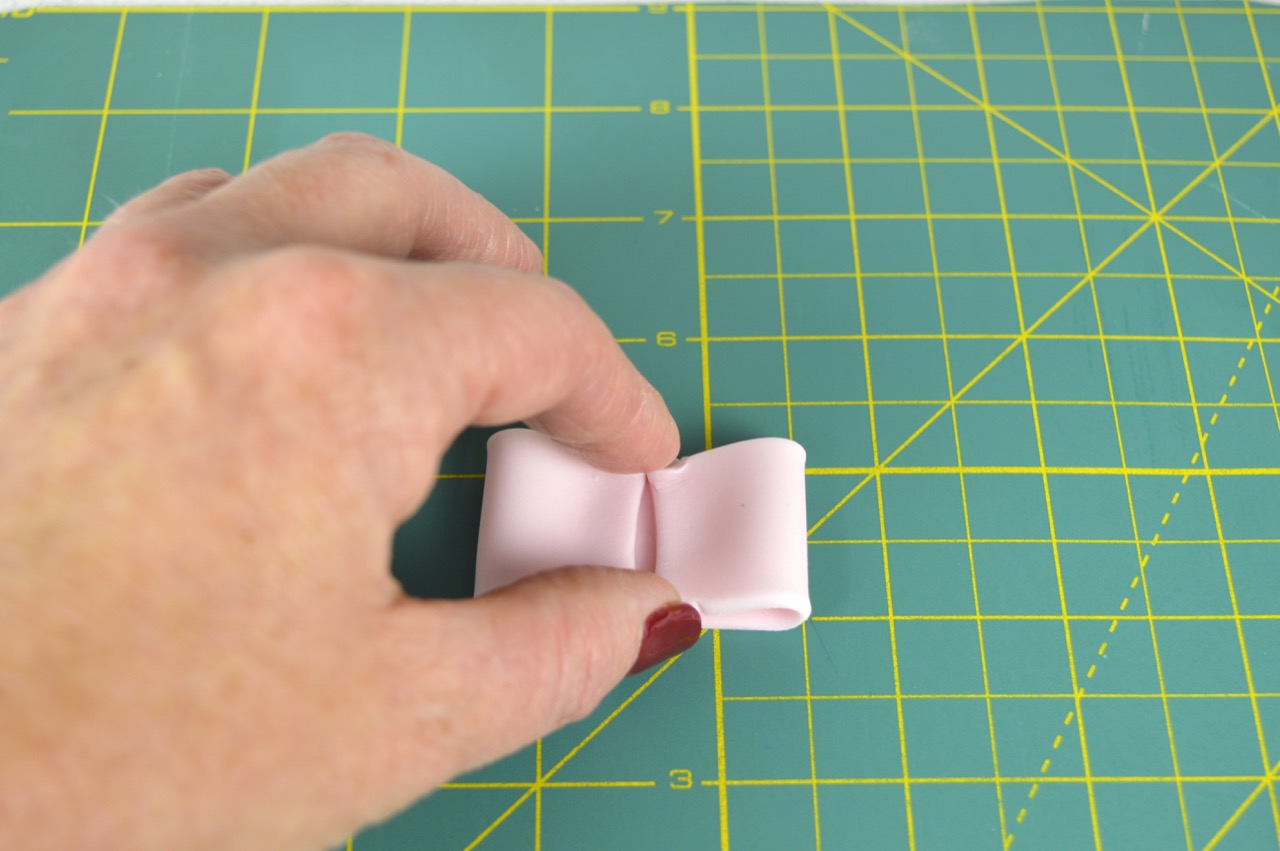

Roll out your modeling paste to 2 mm thick. Cut out 1 thick strip of paste and 3 thinner ones using your FMM Multi-Ribbon tool. Cut the bottom of 2 of your strips of paste with your FMM Knife & Scriber tool diagonally. See photograph 2 below. Fold over your each end thick strip of paste in to the centre. Pinch the tops of 2 of your thinner strips and the top and bottom of the smallest strip, see photograph 3 below. Pinch together the centre of your bow and assemble.
Make Squares using the FMM Multi Ribbon Tool
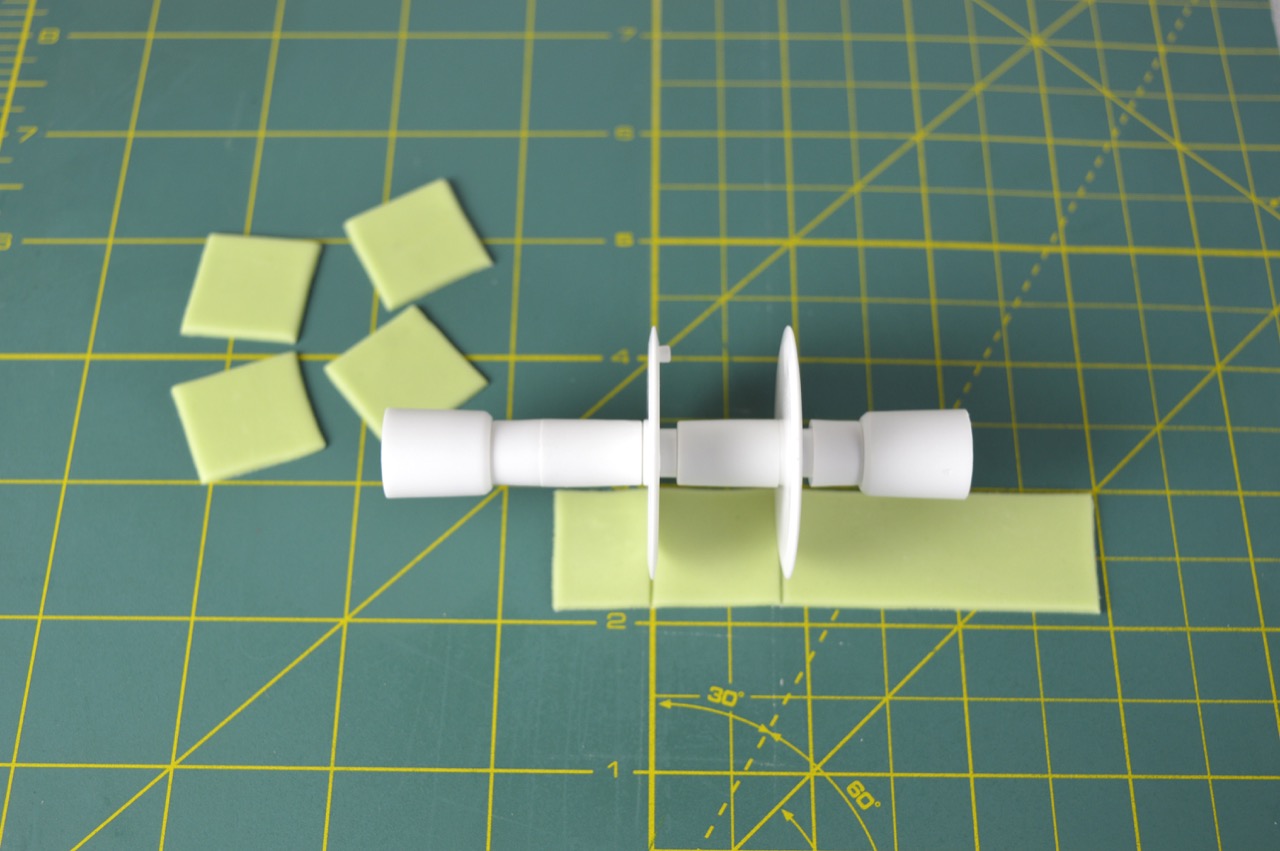
Roll out modeling paste and cut out a strip with your FMM Multi-Ribbon tool. Lay it on your mat then use your FMM Multi-Ribbon tool and cut across your strip of paste to make squares.
Make a Fence using the FMM Multi Ribbon Tool
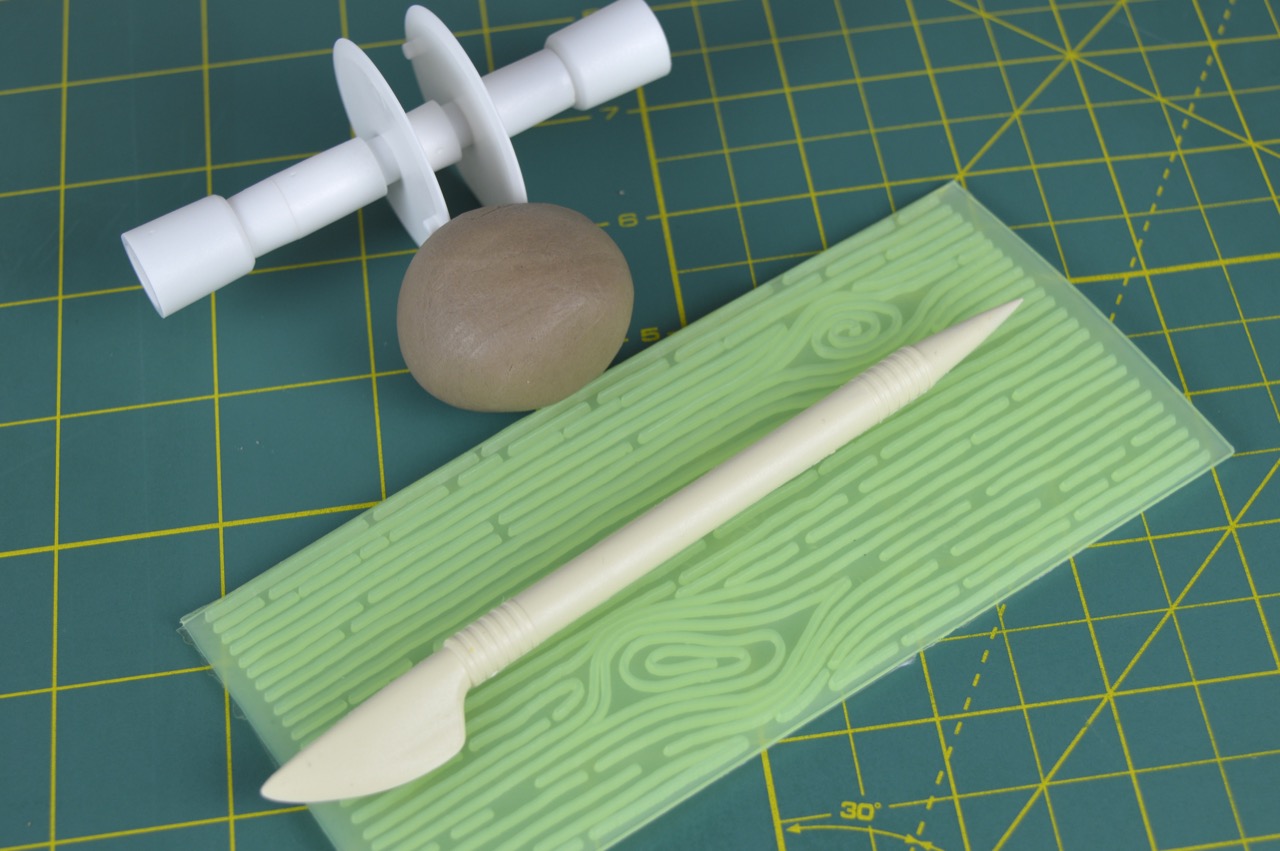
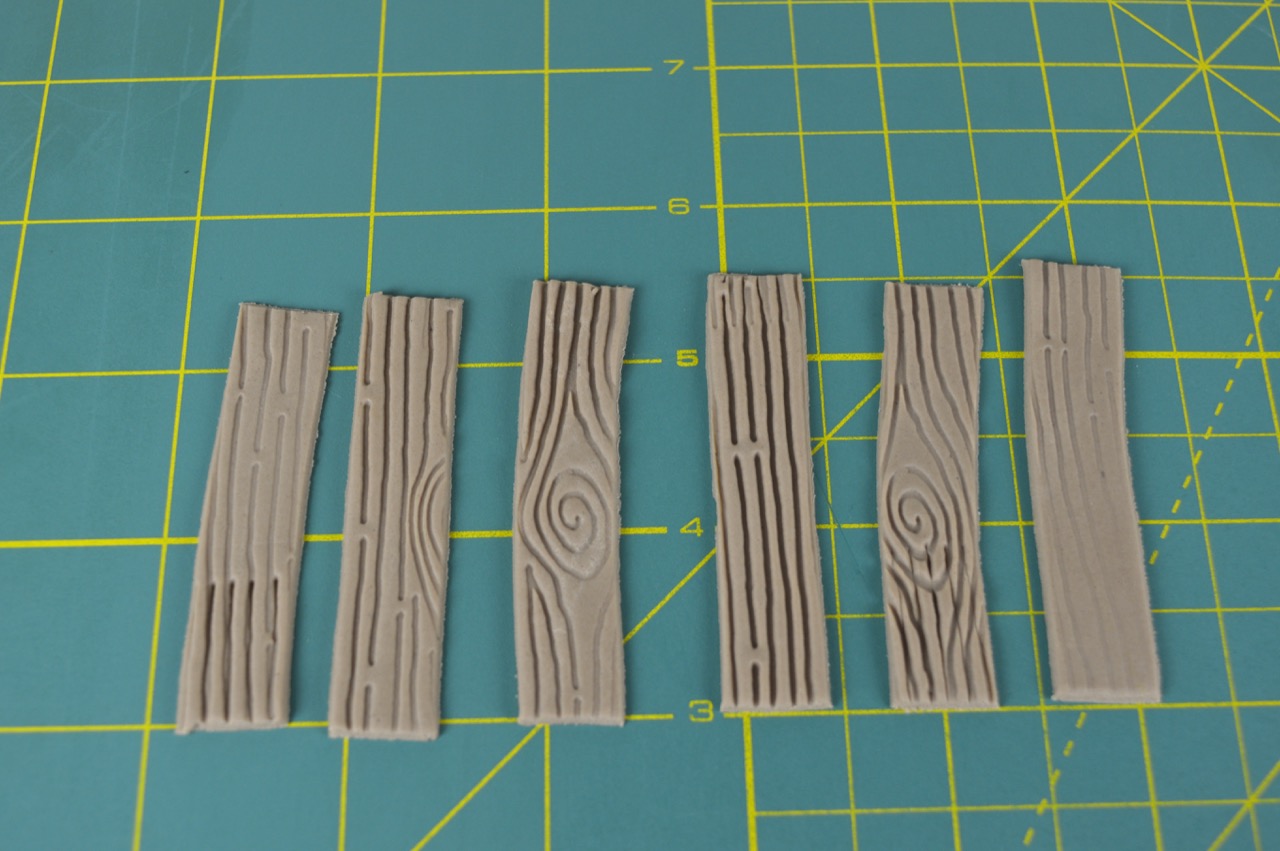
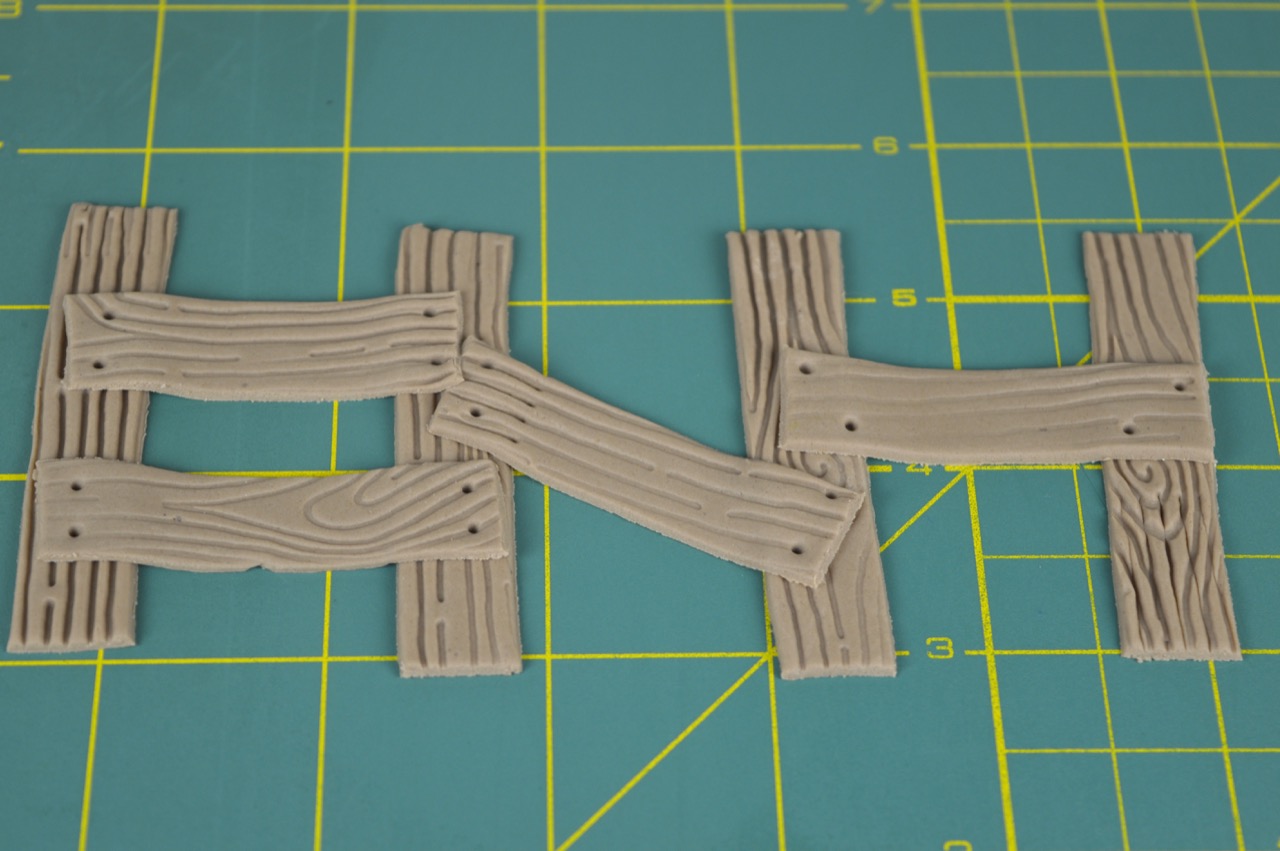
Roll out your modeling paste to 3 mm thick. Place your FMM Wood Grain embosser mat on top and apply pressure with your hand. Cut out strips of paste with your FMM Multi-Ribbon tool. Cut them to size with your FMM Knife & Scriber tool. Allow them to dry off a little then assemble your fence. Using the scriber end of your tool to make nail marks in your fence. See photograph 3 below.