Making Spring Flowers
This step-by-step project sheet has been developed to show you how to create beautiful spring flowers to decorate your cakes.
-
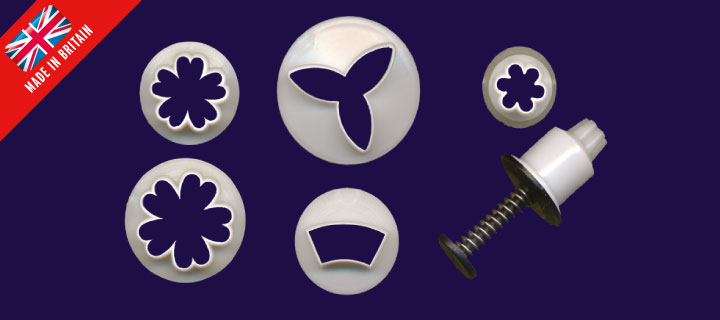
Mexican Hat Technique
This is one of the main methods used when making flowers. Begin by moulding a piece of paste into a small ball and then into a cone shape. Use the fingertips to pinch out the wider part of the cone and extend this further using a small pin or paintbrush handle. Place the cutter over the cone and cut out firmly. Additional detail can be added by thinning the petals further, veining, attaching additional layers and stamens.
-
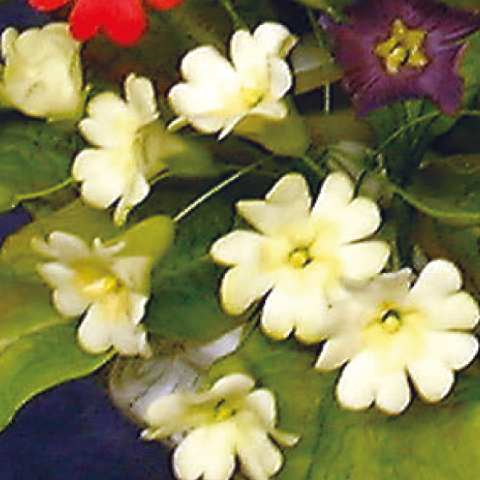
Primroses
-
-
- Using pale yellow flower paste and the Mexican Hat Technique, cut out the flower using the smaller primrose cutter.
- Place the flower upside down onto a firm foam pad and using a Dog Bone tool lightly soften the edges of the petals. These flower petals only require gentle shaping to create interest and movement, therefore take care not to frill them.
- To obtain the classic shape and veining in the centre, emboss and shape using a Ridged Cone tool. It is normally advisable to lightly dust the modelling tool with cornflour prior to using.
- Use a hooked 26-gauge wire dipped lightly into gum glue. Thread it through the flower from the top, pulling the cone into the paste.
- To obtain the best finish either roll pinch or stroke the cone firmly onto the wire. Any excess paste can be cut away to achieve the best shape.
- Place a small cut stamen into the flower centre. This stamen can be attached to the wire prior to threading into the flower if preferred.
- Roll out finely some light green flower paste and cut out a small calyx. Thread this onto the flower and secure.
- To complete the flower paint the centre detail with food colour blended with clear alcohol.
-
-
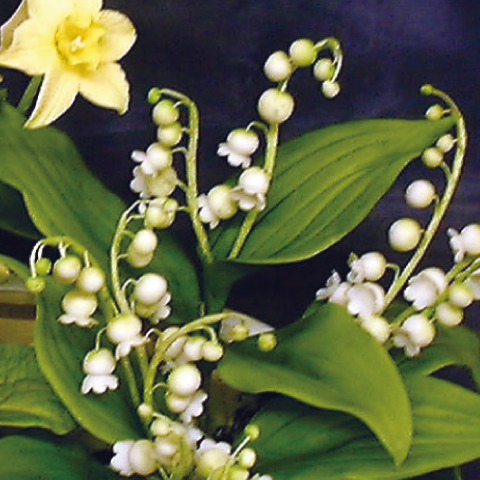
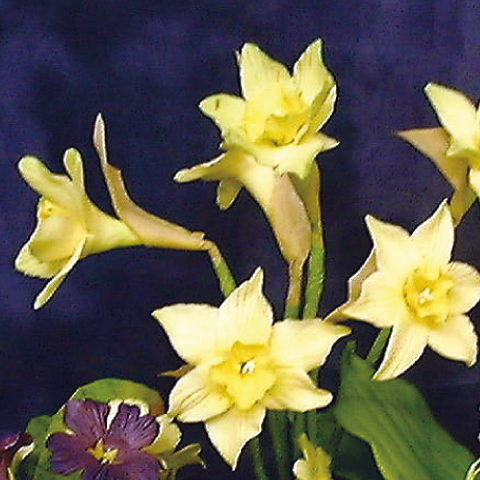
Daffodils
-
-
- Attach approx 6 small stamens to a half-length 24-gauge wire.
- Cut out the trumpet shape and frill the widest edge with a cocktail stick.
- Join the two straight edges together by wrapping around a paintbrush handle.
- Pinch the bottom edges together to make a neat cone shape and thread onto a wire. Allow to dry.
- Use the petal cutter to cut out from a Mexican Hat the main shape and vein with the Multi Flower veiner.
- Cut out a second layer of petals and emboss with the flower veiner.
- Soften all of the petal edges before securing the cut petals to the main flower shape.
- Thread the trumpet wire through the centres and secure, leaving a reasonable length of cone to the flower. Taper the back of the paste well.
- Pinch the tips of the petals and add a long diamond of light brown tape to the base of the cone.
-
-
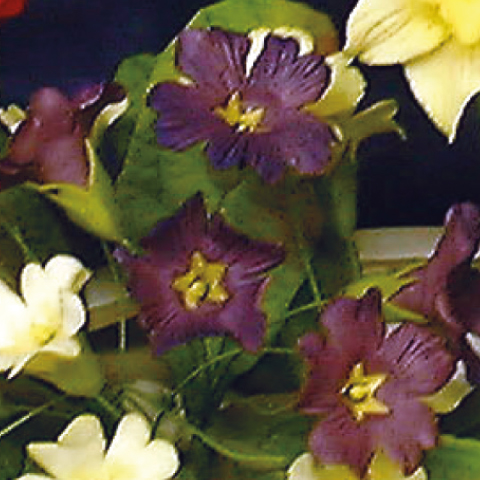
Primulas
-
-
- These flowers come in a wide range of wonderful colours. Cut out the flower using the large primrose cutter.
- From yellow paste cut out a small star shape. Place the star onto the Multi Flower Veiner, centering it onto the cone. Remember to dust the veiner with cornflour first.
- Put the flower over the star and place on the plain mat. Press gently to obtain the veining and secure the star in place.
- Soften the edges of the petals and attach to a 26-gauge wire. Complete with a calyx.
-