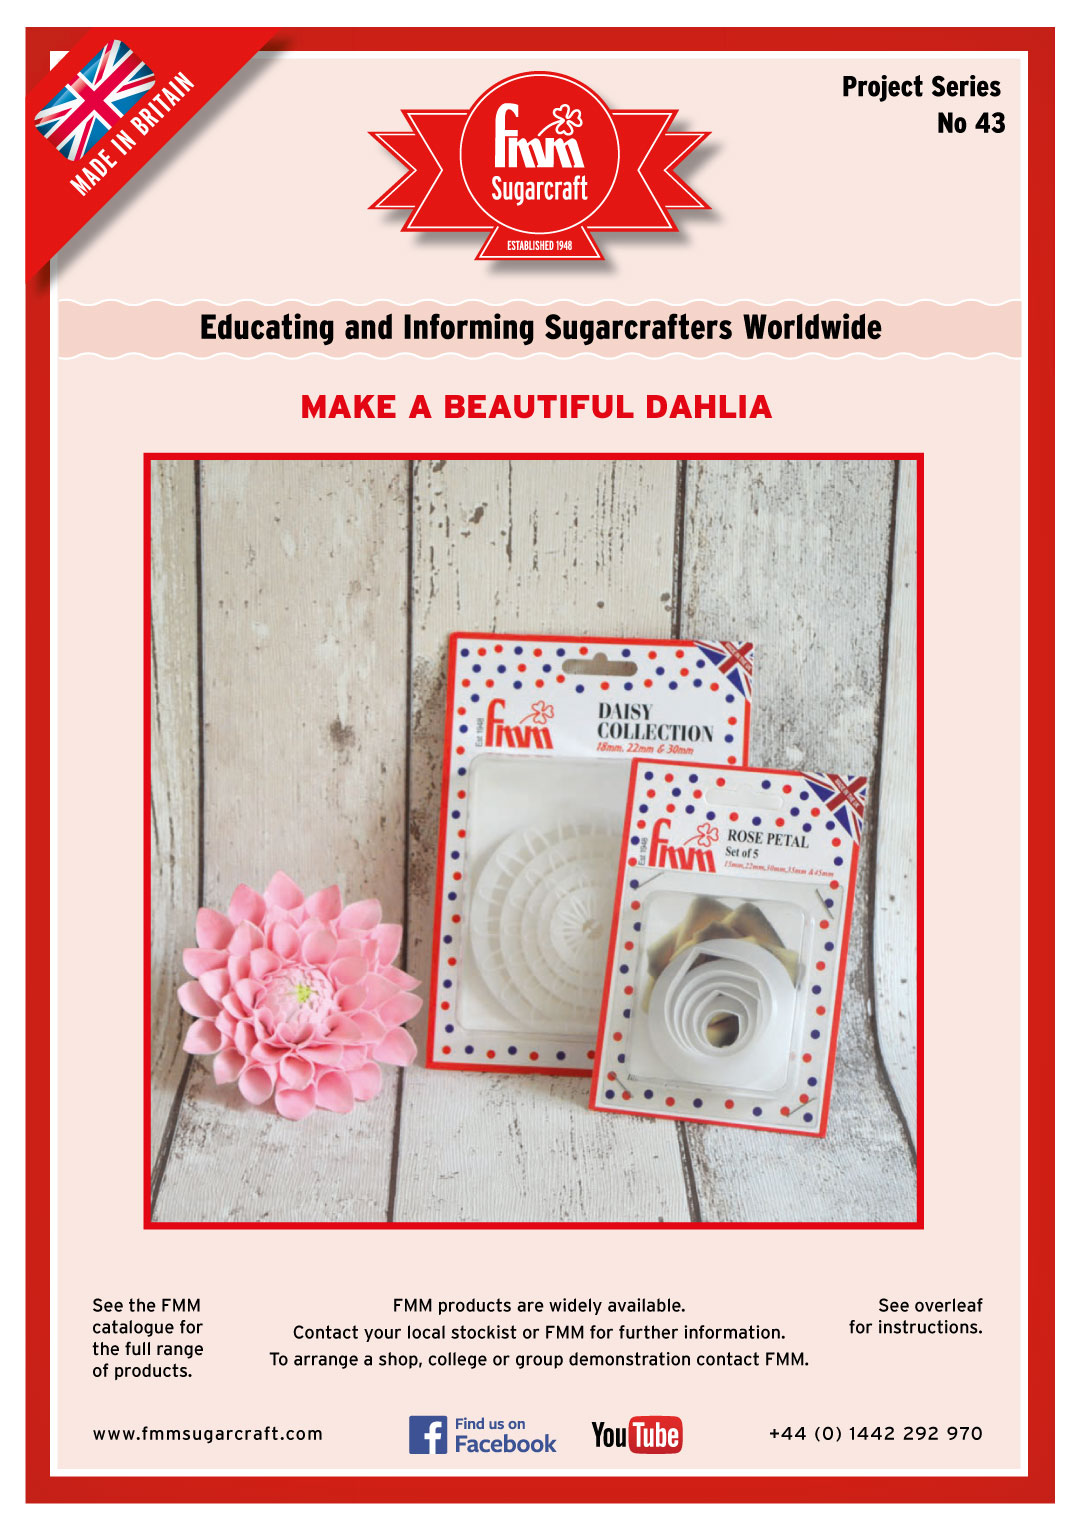
How to make a beautiful Dahlia
Equipment You Will Need
- FMM Knife & Scriber Tool
- FMM Flute & Vein Tool
- FMM Ball Tool
- FMM Form Foam Former Pad
- FMM Daisy Cutter Set
- FMM Rose Petal Set of 5
- FMM Flower Drying Stand
- Non-Stick mat & Non-Stick Rolling Pin
- Green & Pink Flower Paste
- Clear Alcohol (Vodka) & Paintbrush
- 20 Gauge Florist Wire
- Plastic Wallet to store petals
- Tweezers
Hints & Tips
- Always read the project sheet in full before starting to make the dahlia
- If the flower paste is sticking to your tools or mat use the FMM Dab-a-Dust for dusting with either cornflour or icing sugar.
Step By Step
To Make The Bud
- Curl the top of the florist wire to make a hook.
- Roll out green flowers paste into a ball approximately 15mm round. Gently pull the florist wire through the centre of the ball to approximately halfway down. The hook will catch in the ball and stop the wire from falling through. Smooth the top over and using the FMM Knife and Scriber tool to make small indentations in the top. Hang on the FMM Flower Drying Stand and dry for at least 24 hours.
- Roll out pink flower paste very thinly. Turn it over and then cut out the appropriate daisy size to go round your bud. Don’t cover it completely as you want to see a small amount of the green bud in the centre. Then place on the FMM Firm Foam Former Pad, using the ball tool smooth the edges of the petals keeping the ball tool half on the edge of the petal and half on the foam pad.
- Shape the petals using the FMM Flute end of the FMM Flute and Veiner tool, start at the end of the petal and draw into the centre, the petals will curl up towards you. Brush the bud with clear alcohol and push the florist wire down through the centre of the daisy cut out and secure the petals around the bud. Add more layers each time using a larger daisy cutter. Place on drying stand and allow to dry.
To Make the Petals
- Roll out pink flower paste very thinly. Turn it over and cut out rose petals using the 30mm rose petal cutter. If you cut lots out you can store them in the plastic wallet to stop them from drying out whilst you are constructing the dahlia.
- Place on the foam pad. Vein the petals using the FMM Fute and Veiner tool. Put a line in the centre and lines going up each side. This gives the petal texture and makes it look realistic. Using the ball tool thin the edges of the petal as before half on the petal and half on the foam pad.
- The thin pointed part of the petal is the top and the rounded part is the bottom. Make a cone with the rose petal by curling over the bottom of the petal from right to left and secure using alcohol. Make up approximately 10 at a time. Attach the folded part to the bud. Continue attaching the petals all the way around the bud. Allow each layer to dry a little in between.
- Follow steps 5-7 for the 35mm and 45mm petals. Each time adding an extra layer and placing on the flower drying stand. The flower can be as big or small as you would like. If you want, you can add 2 rows of each size or just 1, the more layers you add the larger the flower and the more in bloom it will look.
- Once your flower is dry you are ready to attach it to your cake. You cut the wire and secure to your cake with royal icing or shorten the florist wire and place in a flower pick then attach to your cake.

